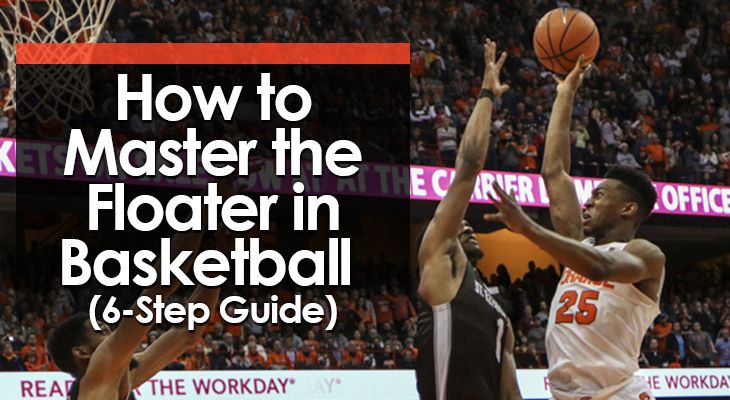
The floater can be one of the most efficient shots in basketball...
...if players spend enough time working on it.
Analytics tell us that open three-point shots and layups are still the best ways to finish a possession when you can get them, but I’m a big fan of a well-practiced floater.
It’s a great way to exploit the in-between space in the lane that defenders often concede in an effort to take away those much-feared layups and threes.
A floater can take advantage of drop coverage or defenders back-pedaling to the rim.
And because it’s executed in the flow of movement, the timing of a floater’s release is quick and often unpredictable for blocking defenders.
Below I’ll show you how to shoot one.
What is a Floater in Basketball?
There’s some disagreement over how to define a floater...
Some people insist it’s only a real floater if it’s taken off two feet (one foot would be a runner).
Others insist it’s only a real floater if executed one-handed (two hands is more of a “ jump shot”).
The exact definition isn’t important to me.
The shot I’m describing today is any high-arching shot, over any incoming defender, that you execute on a drive to the hoop, exploiting the space between the lines of defense.
Whether you jump off one foot or two feet and how you release the ball will vary depending on the situation and what you’re most comfortable with.
How to Shoot a Floater in 6 Steps:
1. Identify the Space
The first step is identifying where on the floor you’re going to be using your floater.
When working on this shot during a workout, practice as if there’s a defender on your hip and another defender stepping up late to provide help.
The space between those two lines of defense is where you want to take off from, releasing the ball high and soft over the incoming second defender.
2. Start Slow
The most aesthetically pleasing floaters are fast, mid-run, high-arching shots.
It can be tempting to think quickness is key to the efficiency of a floater, but it’s not as important as balance and control… especially when you’re first learning them.
When practicing your floater, start slow.
Start by practicing no-dribble floaters with just a couple of steps to set yourself up.
Then, drive to the rim at half-speed and pull up at a similar range until you’ve got real control of each of the steps below, and then start speeding up your drives.
I’d recommend starting with a two-foot jump before moving onto one-foot floaters, as the more balance + control you have, the easier they’ll be to execute.
3. Keep Your Head Up
Many players hamper their floater before they ever release it.
They do this by keeping their head down as they drive into the lane.
A floater takes advantage of the space between the defense, and you can only be sure that space is available to you if you can see it.
Keep your head up.
4. Go Up Straight
The basic floater is a near-vertical jump.
Remember -- you’re exploiting the space between recovering defenders…
…so if you’re letting your momentum carry you too far forwards, you’re reducing the space between you and the rotating defender and thus reducing the space you have to shoot.
The defender under the basket is likely to be tall with a long reach, so you don’t want to get your release close to where they can swat it away.
Jumping forwards also makes it more likely you’ll pick up an offensive foul.
5. Release High
When shooting a floater, you want to release the ball just before the peak of your jump.
Release the ball too late and you mess up the rhythm of the shot, as well as give the defender extra time to rotate and potentially block the shot.
6. Practice Variety (and Get in the Reps)
No defense is going to give you an easy drive and wide-open floater from your favorite spot.
That’s why it’s important to practice floaters from a variety of different areas and angles.
From the top
From the wing, with backboard
From the wing, without backboard
From the baseline
From different distances
Different arc heights
etc
The footwork before your floater is important as well...
Practice a variety of drives leading up to your floater.
Going left
Going right
Euro step
Speed change
Jump stop
(the euro step floater is demanding of your balance and coordination, but is an important skill to master for situations when the help defender closes down faster than you expected)
Some of these different moves will require slightly adjusting your form.
You won’t be jumping quite so vertically with a euro step floater or squaring your shoulders the way you would with a jump stop floater – so build up to them as you build confidence.
Master the basics and make sure you practice many different situations.
Conclusion
The finesse of the floater can make it look like a tough shot to grasp.
And admittedly, it’s not the easiest skill to master on the court…
But it’s a highly replicable shot, especially useful for undersized players, and extremely helpful against modern defenses.
It doesn’t take range, it doesn’t take size, it doesn’t take power – it only takes work, repetition, and discipline.
Find your space, keep your head up, and shoot with control.
