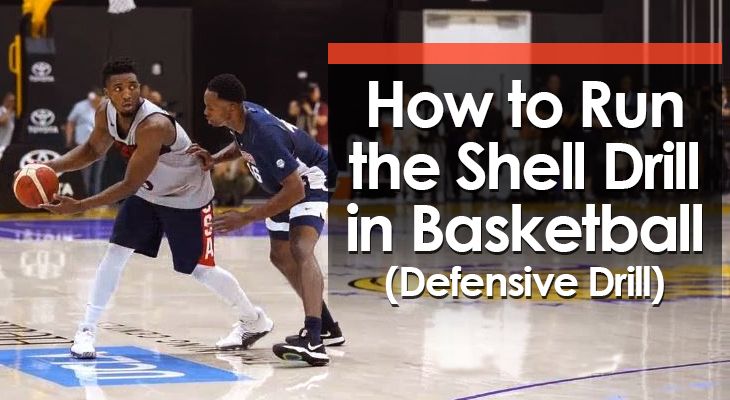
One of the most versatile drills a coach can use to teach defensive concepts is the Shell Drill.
This drill allows coaches to explain defensive responsibilities in a controlled environment.
Progressions are limited only by the coach’s creativity in crafting the drill itself.
When a coach begins teaching players how to play solid defense, it’s important to start with the basic fundamentals… and this drill gives coaches the perfect opportunity to do that.
What I love most about the Shell Drill is that it evolves as players improve.
There are a number of “progressions” that I’ll now explain in this blog post.
Let’s get started!
What is the Shell Drill?
The Shell Drill is a “progressive drill” for teaching TEAM defense and positioning.
While 1-on-1 drills are great for teaching on-ball defense, drills like the “Shell Drill” help players learn how to defend AWAY from the ball.
When run at the youth level, this may be the first time some of these young players hear key defensive terms like “help side,” “one-pass away,” “rotations,” and “close out.”
How to Run the Shell Drill
Traditionally, the Shell Drill is run 4-on-4.
Place four offensive players around the arc -- one in each slot and one on each wing. The four defenders then matchup with their offensive counterparts.
Here’s how it works…
The first thing that must happen when using this drill is a walk-through of the basketball at each offensive position so that all defenders know where they should be.
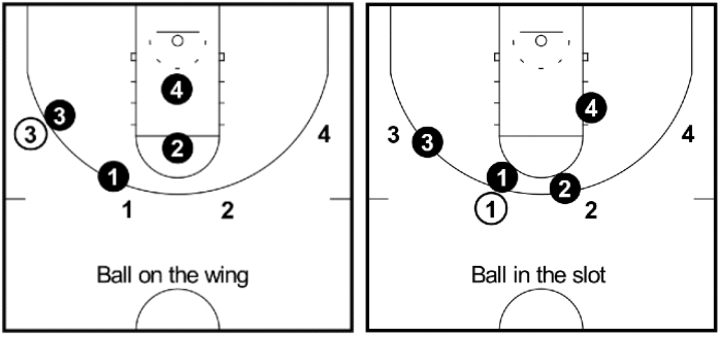
When the basketball is on the wing, there should be one on-ball defender, one defender denying one pass away, and two defenders playing help-side defense on the split line.
When the basketball is with a player in the slot, there should be one on-ball defender, two players denying one pass away, and one player in help-side defense on the split line.

After walking through each position, get the offensive players to pass around the perimeter (holding for about 3 seconds) while the defense adjusts to the correct positioning.
Then finally, go live.
Do this by getting the offensive team to rotate the ball around the perimeter twice and then transition into a competitive 4-on-4 game with focus on defensive positioning.
Videos:
3-on-3 Shell Drill
4-on-4 Shell Drill
5-on-5 Shell Drill
Coaching Points:
A point of emphasis for this drill is ensuring players maintain awareness.
Defenders should be able to see both their matchup and the ball at all times.
For younger players, it can help if coaches teach them to point at the ball and their matchup throughout the drill.
Another point of emphasis is communication.
The shell drill allows coaches to install the specific wording they want to use on defense.
Some of the most common calls include - “ball,” “deny,” and “help.”
Why the Shell Drill is Important
The shell drill allows coaches to teach key defensive concepts in a controlled environment.
Communication and awareness are integral parts of any defensive scheme, and this goes for the coaches as well as the players.
The drill provides a simple platform for coaches to provide direct instruction to their players regarding defensive alignments and calls.
During this drill, players learn positioning and key defensive principles like “help side,” and coaches can show players how to close out properly and how to rotate.
For players…
The repetition of the shell drill helps build confidence in their defensive positioning.
Once players understand how to participate in the drill, even though it’s fast-moving, they gain the necessary assuredness that’s needed to become a good defender.
Lastly, if you're looking for more defensive drills, click here.
